
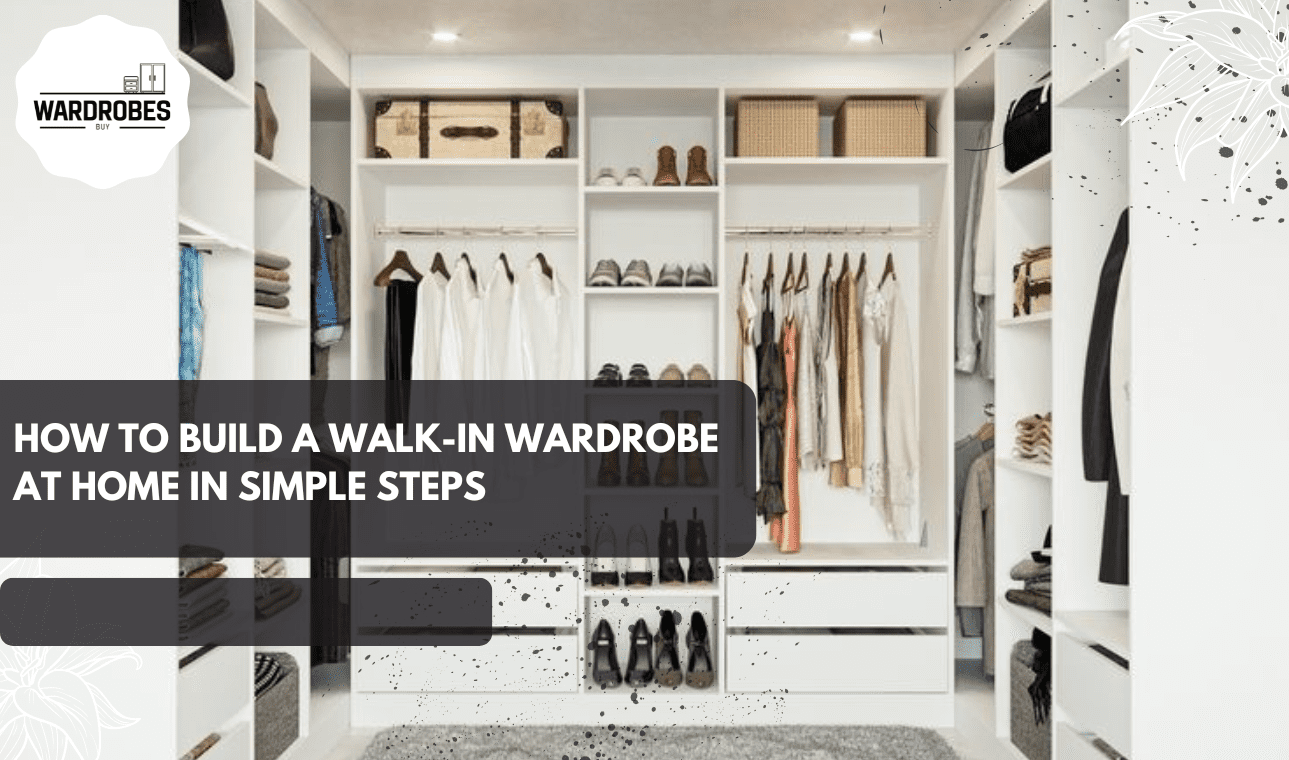
How to Build a Walk-In Wardrobe at Home in Simple Steps
Ever opened your wardrobe and felt like clothes were attacking you from all directions? That’s exactly where a walk-in wardrobe changes the game. It’s not just about storage—it’s about comfort, organization, and a touch of everyday luxury. Learning how to build a Walk-In Wardrobe at home gives you control over space, style, and budget, all in one go.
The best part? You don’t need a large home or a huge budget. With smart planning and simple steps, you can create a functional walk-in wardrobe that fits your lifestyle perfectly.
Understanding What a Walk-In Wardrobe Really Is
A walk-in wardrobe is a dedicated storage space where you can physically walk inside and access your clothes, shoes, and accessories comfortably. Learning how to build a walk-in wardrobe gives to flexibility to create standard wardrobes that are limited by doors and depth, walk-in wardrobes:
- Offer better visibility
- Improve organization
- Feel more spacious
- Add value to your home
Planning Before You Build
Good planning is like a solid foundation—skip it, and everything wobbles later. Measure:
- Wall-to-wall width
- Floor-to-ceiling height
- Door clearance
- Walking space (minimum 90 cm recommended)
Choosing the Right Location
Perfect for convenience and daily use. Ideal if you want a larger, luxury-style for how to build a walk-in wardrobe. Choose a convenient spot with enough space and light, like near the bedroom or a spare room.
- Close to the bedroom
- Spare room option
- Adequate space and light
Designing the Layout
Your layout depends on space and storage needs.
- U-Shaped Layout – Best for larger spaces. Maximum storage on three sides.
- L-Shaped Layout – Ideal for medium-sized rooms and corners.
- Straight Layout – Works best in narrow rooms or hallways.
Setting a Realistic Budget
You don’t need to spend a fortune to build smart.
- Open shelving
- Curtain instead of doors
- MDF boards
- Ready-made drawer units
Choosing the Right Materials
MDF vs Plywood vs Solid Wood
- MDF: Affordable and smooth
- Plywood: Strong and moisture-resistant
- Solid wood: Premium but expensive
Best Finishes for Long-Term Use
- Laminates
- Melamine
- Matte paint finishes
Essential Tools You’ll Need
Basic tools include:
- Measuring tape
- Drill machine
- Spirit level
- Screws and wall plugs
- Screwdriver
- Saw (manual or electric)
Step-by-Step Guide: How to Build a Walk-In Wardrobe
1. Preparing the Space
Clear and prep the area to ensure smooth construction. A clean, dry, and level space prevents issues during installation and protects clothes from damage.
- Remove furniture and old shelving
- Clean floors and walls
- Repair cracks or damp spots
2. Building the Frame
Build a strong frame as the wardrobe’s backbone. Proper alignment and secure attachment to studs ensure durability and support for shelves, drawers, and rails.
- Fix panels to wall studs
- Use a spirit level for alignment
- Ensure the frame is sturdy and secure
3. Installing Shelves
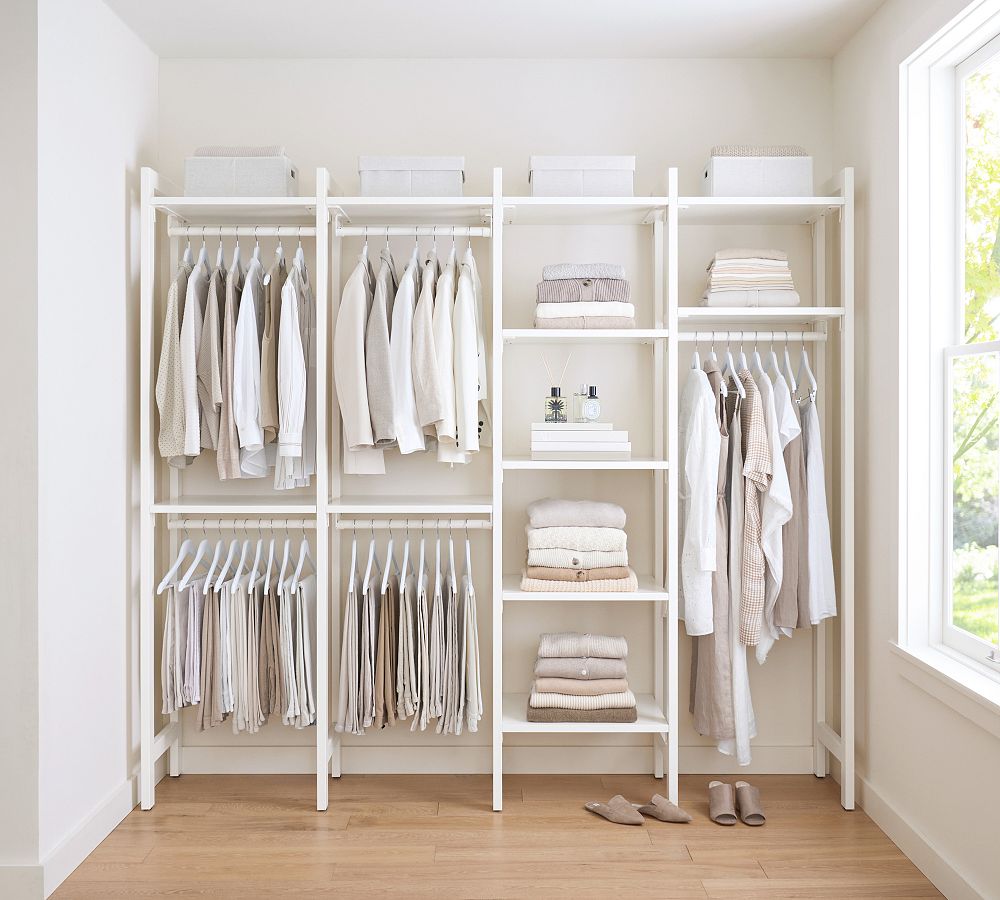
Install shelves according to clothing and storage needs. Adjustable or properly spaced shelves make it easier to organize folded clothes, boxes, and accessories efficiently.
- Space shelves by item height
- Secure with brackets or supports
- Use adjustable shelves for flexibility
4. Adding Hanging Rails
Rails keep garments organized and wrinkle-free. Installing double and single rails optimizes vertical space for different clothing lengths.
- Double rails for shirts and trousers
- Single high rails for dresses or coats
- Fix the rails securely to support the weight
5. Installing Drawers and Storage Units
Drawers add hidden storage for smaller items. Soft-close runners and proper placement improve accessibility and long-term usability.
- Store undergarments, accessories, or valuables
- Use soft-close drawer runners
- Position drawers at waist height
6. Doors or Open Design Decision
Choose doors for a neat, dust-free look or an open design for a modern, cost-effective style. Consider space, maintenance, and visibility.
- Doors create a clean finish
- Open designs feel modern
- Decide based on maintenance and space
7. Lighting Ideas
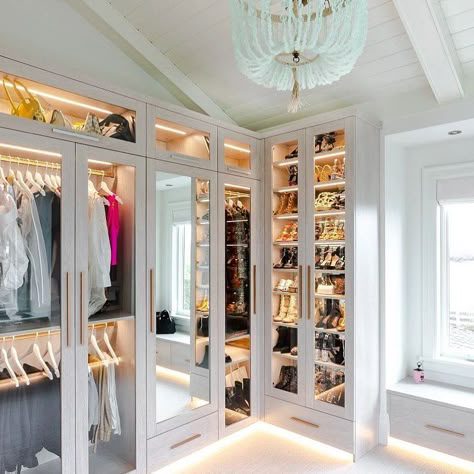
Proper lighting improves visibility and enhances the wardrobe’s style. LED strips and ceiling lights highlight clothing and accessories while creating a welcoming environment.
- LED strips for shelves and rails
- Ceiling or spotlights for brightness
- Warm/neutral lighting for true colors
8. Ventilation and Moisture Control
Good airflow prevents mold, odors, and fabric damage. Proper ventilation and moisture control keep clothes fresh and extend wardrobe life.
- Install air vents
- Avoid fully sealed spaces
- Use moisture absorbers in corners
9. Organize Your Walk-In Wardrobe Smartly
Zoning and smart accessories make your wardrobe efficient. Knowing what are essential wardrobe items and organizing sections for clothing types, shoes, and accessories saves time and keeps the space neat.
- Zone by daily, formal, and seasonal clothes
- Dedicate space for shoes and bags
- Use pull-out baskets and tie/belt organizers
Common Mistakes to Avoid
Avoid errors that reduce functionality and lifespan. Plan space, lighting, and storage carefully, and don’t overcrowd or use weak materials.
- Ignoring proper walking space
- Poor lighting or ventilation
- Overcrowded shelves or a weak frame
- Using low-quality materials
- Skipping proper measurement
FAQs
1. How much space do I need to create a walk-in wardrobe?
At least 4 x 5 feet is workable, but more space offers better comfort.
2. Can I build a walk-in wardrobe on a low budget?
Yes, using open shelves, MDF boards, and DIY methods.
3. Is a walk-in wardrobe suitable for small homes?
Absolutely. Smart layouts make it possible even in compact spaces.
4. Do I need doors for a walk-in wardrobe?
Not necessarily. Open designs work well and save money.
5. How long does it take to build a walk-in wardrobe?
DIY projects usually take 2–5 days, depending on complexity.
Conclusion
Learning how to build a Walk-In Wardrobe at home isn’t just a DIY project—it’s a lifestyle upgrade. With proper planning, smart materials, wardrobe storage tools, and simple steps, you can create a wardrobe that’s practical, stylish, and built to last. Start small, think smart, and build something you’ll enjoy every single day.