
How to Build a Fitted Wardrobe That Fits Your Space
If your bedroom feels cluttered, awkward, or short on storage, learning how to build a fitted wardrobe could be the smartest upgrade you make. Unlike standard wardrobes that leave unused gaps, fitted wardrobes are designed specifically for your room. They hug the walls, reach the ceiling, and make every inch count. Whether you’re working with a small bedroom or an oddly shaped space, building your own fitted wardrobe gives you full control over design, storage, and budget.
Why Build Your Own Fitted Wardrobe
Building your own fitted wardrobe isn’t just about saving money—it’s about creating storage that actually works for you. First, you get complete customization. You decide how much hanging space, shelving, or drawers you need. Second, it helps you maximize space, especially in rooms with alcoves, sloped ceilings, or unused corners.
Finally, how to build a fitted wardrobe adds a clean, built-in look that instantly makes your bedroom feel more organized and high-end. Think of it like tailoring a suit—off-the-rack works, but a custom fit works better.
Tools and Materials You’ll Need
Essential Tools
- Tape measure
- Spirit level
- Drill and screwdriver bits
- Saw (hand or circular)
- Stud finder
- Pencil and clamps
Materials for a Durable Build
- MDF or plywood panels
- Timber battens
- Screws and wall plugs
- Hinges or a sliding door system
- Handles and rails
Preparing all tools and materials beforehand ready before you start will save time and be less stressful.
7 Steps: How to Build Your Own Wardrobe
1. Measure Your Space
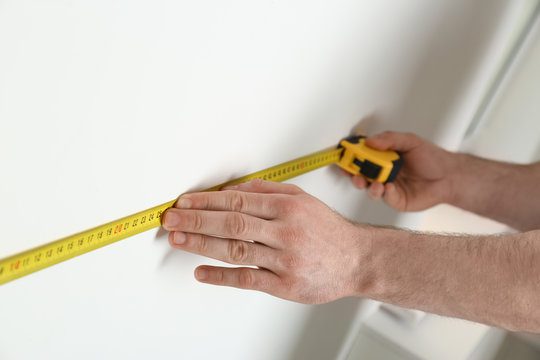
This is the foundation of the entire project. Measure the height, width, and depth of your space at multiple points because walls and floors are rarely perfectly straight. Don’t forget to account for skirting boards, ceiling slopes, and any obstacles like sockets or radiators. Accurate measurements now will save you from costly mistakes later.
2. Choose the Right Material
The materials you choose affect both durability and appearance.
- MDF is smooth, affordable, and ideal for painted finishes
- Plywood is stronger and more resistant to sagging
- Solid wood looks premium but costs more
For most DIY projects, high-quality MDF or plywood offers the best balance between cost and strength.
3. Build the Frame
The frame is what holds everything together. Fix timber battens securely to the walls, floor, and ceiling to create a solid structure. Use a spirit level at every stage—if the frame isn’t straight, nothing else will be. A strong frame ensures your fitted wardrobe stays sturdy for years.
4. Choose Your Colours
Colour choice can completely change how your room feels. Light shades like white, cream, or soft grey make small rooms feel bigger and brighter. Dark colours add drama and luxury but work best in larger spaces. Match or complement your wall colour for a seamless, built-in appearance.
5. Choose Your Handles
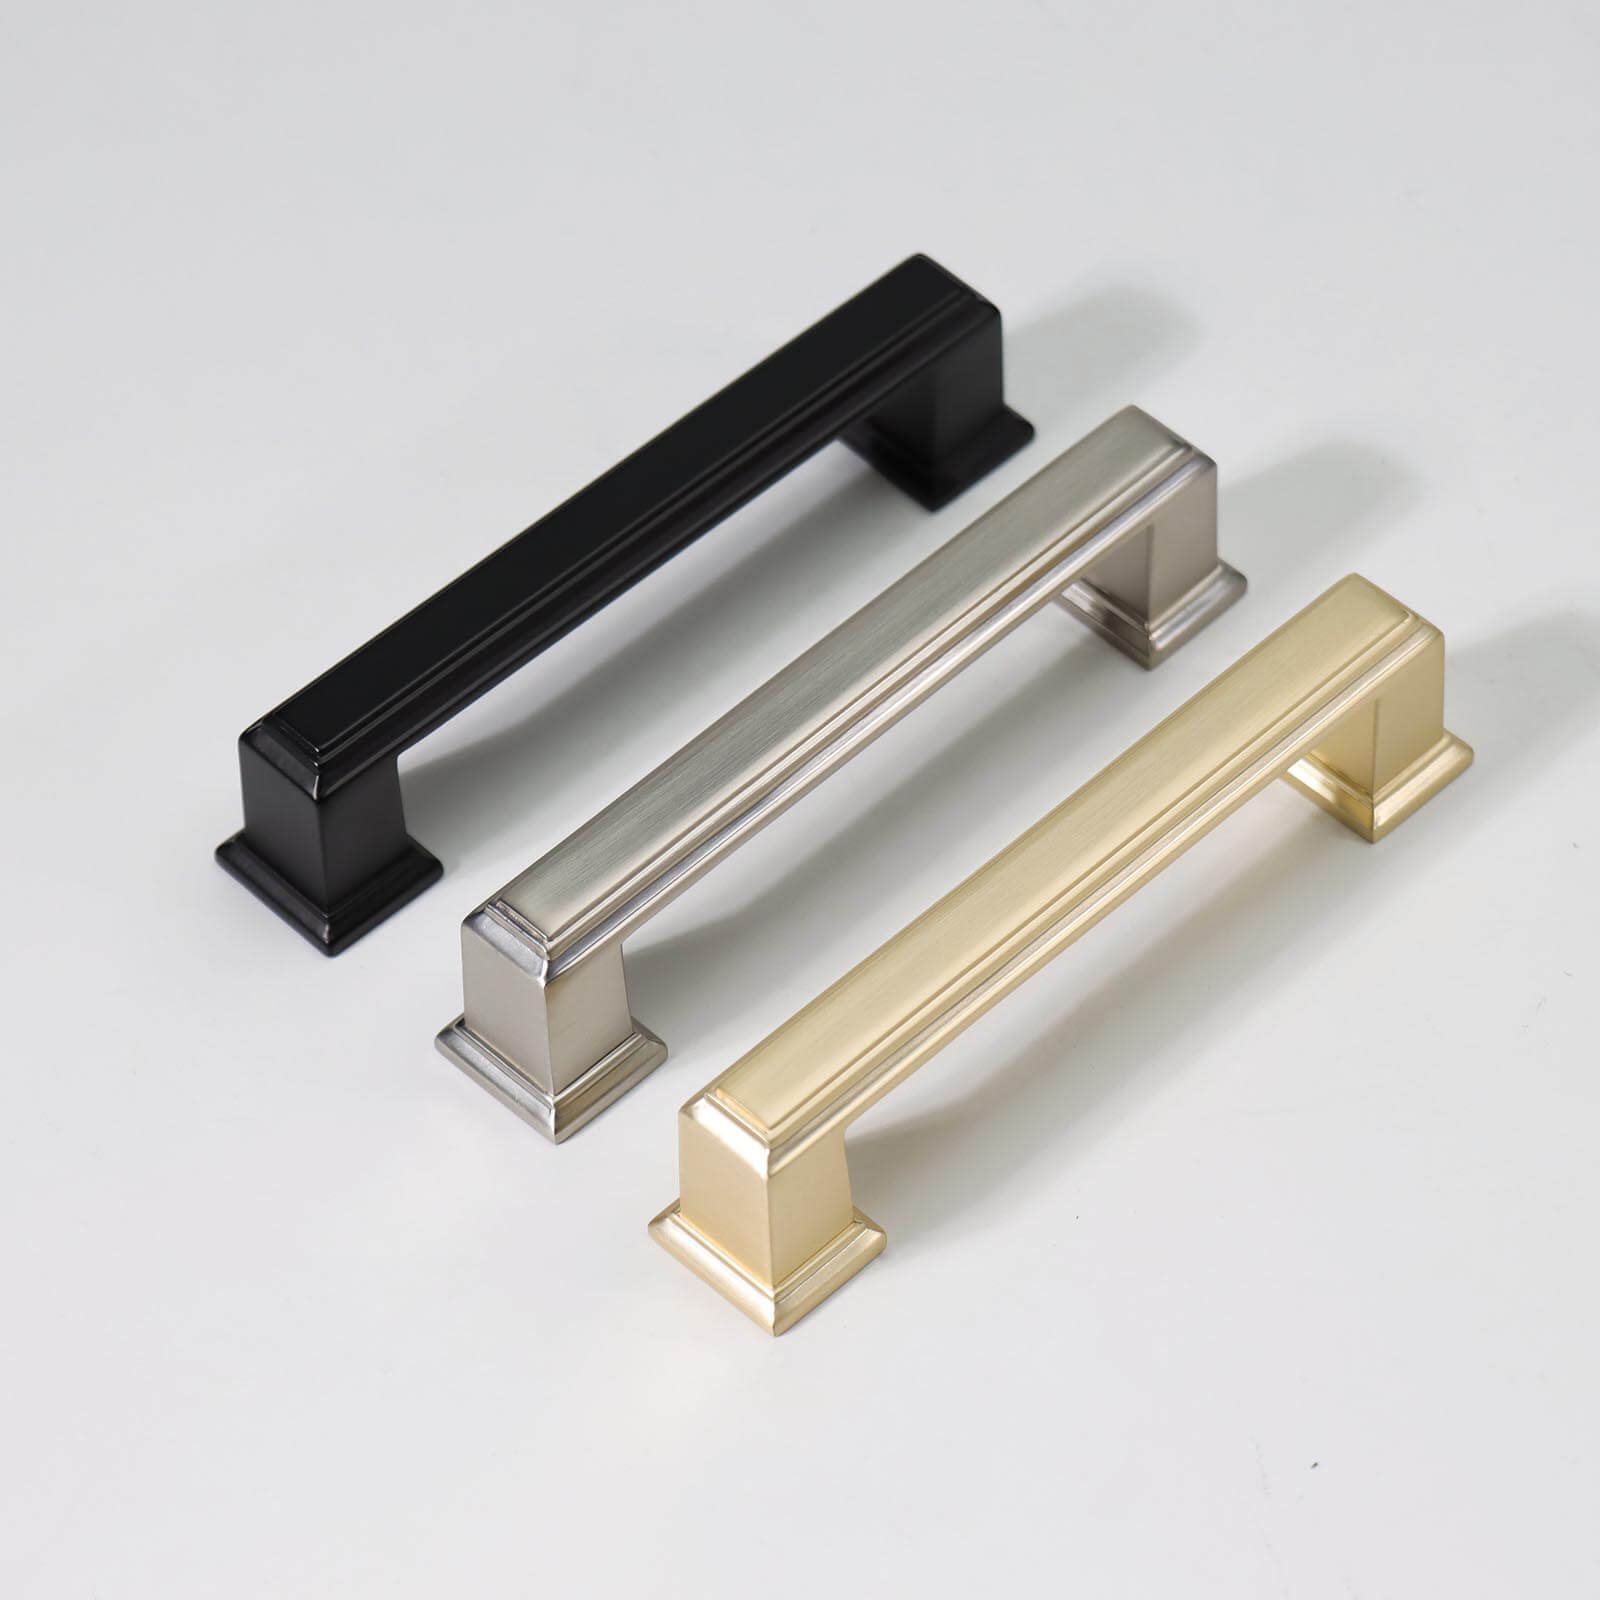
Handles may seem like a small detail, but they make a big visual impact. Sleek metal handles suit modern designs, while knobs or matte finishes work well for classic styles. For a minimalist look, consider handleless or push-to-open systems. Choose handles that are comfortable, durable, and match your overall design.
6. Installing Shelves and Rails
Once the frame is ready, install your internal components.
- Add hanging rails at practical heights
- Fit shelves securely with proper support
- Use adjustable shelves if you want flexibility later
Always double-check levels—uneven shelves are one of the most common DIY regrets.
7. Fitting Doors and Finishing Touches
Now comes the satisfying part. Fit your doors carefully, whether hinged or sliding, and adjust them for smooth operation. Fill any gaps, sand rough edges, and apply paint or finish. This final stage is what turns your build from “DIY” into “professionally finished.”
DIY vs Professional Installation
DIY fitted wardrobes are ideal if you’re confident with tools and want to save money. You’ll gain full creative control and valuable experience. However, professional installation may be better if your space is complex or you want a flawless finish without the effort. The right choice depends on your experience, available budget, and the time when deciding how to build a fitted wardrobe that fits your space.
FAQs
1. Is it cheaper to build your own fitted wardrobe?
Yes, DIY fitted wardrobes are usually much cheaper than custom-made professional options.
2. How long does it take how to build a fitted wardrobe?
Most DIY builds take between 2–4 days, depending on size and experience.
3. Can fitted wardrobes work in small bedrooms
Absolutely. Small bedrooms benefit the most because fitted wardrobes maximize space.
4. What’s the best material for durability?
Plywood offers the best strength, but MDF works well when properly supported.
5. Can I change the internal layout later?
Yes, especially if you use adjustable shelving and modular fittings.
Conclusion
Learning how to build a fitted wardrobe gives you the freedom to design storage that truly fits your space and lifestyle. With careful planning, the right materials, and a step-by-step approach, you can create a wardrobe that looks seamless, functions perfectly, and adds real value to your home. Including essential wardrobe items ensures every inch is used efficiently. Take your time, measure accurately, and enjoy the process—because the result is worth it.