
How to Add Shelves to a Wardrobe | Step-by-Step Guide
Want more storage space inside your wardrobe without replacing the entire unit? Adding shelves is one of the easiest and most affordable solutions. Whether your wardrobe has a large empty hanging section or you want better organisation, installing shelves can completely transform your storage layout. In this step-by-step guide, you will learn how to add shelves to a wardrobe like a pro — even if you’re a complete beginner. Let’s dive in!
Why Adding Shelves to a Wardrobe Is a Smart Idea
Before starting, it’s helpful to understand why shelving upgrades are worthwhile.
- Makes better use of vertical space
- Keeps folded clothes, bags, and accessories organized
- Customizes storage based on your needs
- Saves money compared to buying a new wardrobe
Most importantly, added shelves make everyday access easier and faster.
Tools and Materials You Will Need
Before learning how to add shelves to a wardrobe, gather these essentials:
- Measuring tape
- Pencil
- Spirit level
- Shelf boards (wood or laminated)
- Shelf support pins or metal brackets
- Drill and screwdriver
- Wall plugs and screws
With everything in place, the installation becomes quick and hassle-free.
1. Measure Your Wardrobe Interior
This step is crucial. Accurate measurement ensures a perfect fit.
Measure:
- Width: left side to right side
- Depth: front to back
- Height: how many shelves can fit
Leave enough room for folded clothes or storage boxes in your wardrobe for clothes to avoid overcrowding.
2. Types of Shelves You Can Install
Not all wardrobes are the same — and neither are shelves. Here are the best options:
Fixed Shelves
- Screwed in permanently for heavy loads
- Perfect for sweaters, shoes, and handbags
Adjustable Shelves
- Supported by pegs or tracks
- Great for changing storage as needed
Floating Shelves
- Modern and minimalist look
- Less visible supports
Choose what best fits your style and function!
3. Plan the Shelf Placement
Decide where each shelf will go based on:
- What do you want to store
- Required height between shelves
- How deep each shelf should be
- Accessibility — items you use daily should be at eye level
Sketch your layout — it helps avoid mistakes later!
4. Cutting the Shelves to Size
If your shelves aren’t pre-cut:
- Measure twice, cut once
- Use a circular or hand saw
- Sand edges until smooth
Optional: Apply edge banding to give a polished look.
5. Marking the Support Positions
Inside your wardrobe:
- Use a pencil and a level to draw straight lines
- Ensure both sides are aligned
- Double-check spacing between shelves
This step ensures your shelves are perfectly horizontal — no tilted storage chaos!
6. Installing the Shelf Supports
You can install either:
- Brackets: Strong and easy to mount
- Wooden battens: Simple and invisible once shelves are placed
Steps:
- Drill pilot holes to prevent wood splitting
- Screw supports firmly into the wardrobe wall
- Test stability before adding shelves
7. Securing the Shelves
Place your shelf board on the installed supports. For added strength:
- Use screws from the top down
- Apply wood glue for permanent installation
If using adjustable pegs — no screws required!
8. Adding Adjustable Shelving Options
Want flexibility? Install:
- Shelf support holes on both sides
- Metal or plastic peg inserts
Great for wardrobes that store different items seasonally!
9. Finishing and Checking Stability
Before calling it done:
- Check shelves for wobbling
- Tighten any loose screws
- Wipe off pencil marks
- Add liners or boxes for neatly arranged storage
Congratulations! You’ve upgraded your wardrobe storage — DIY victory!
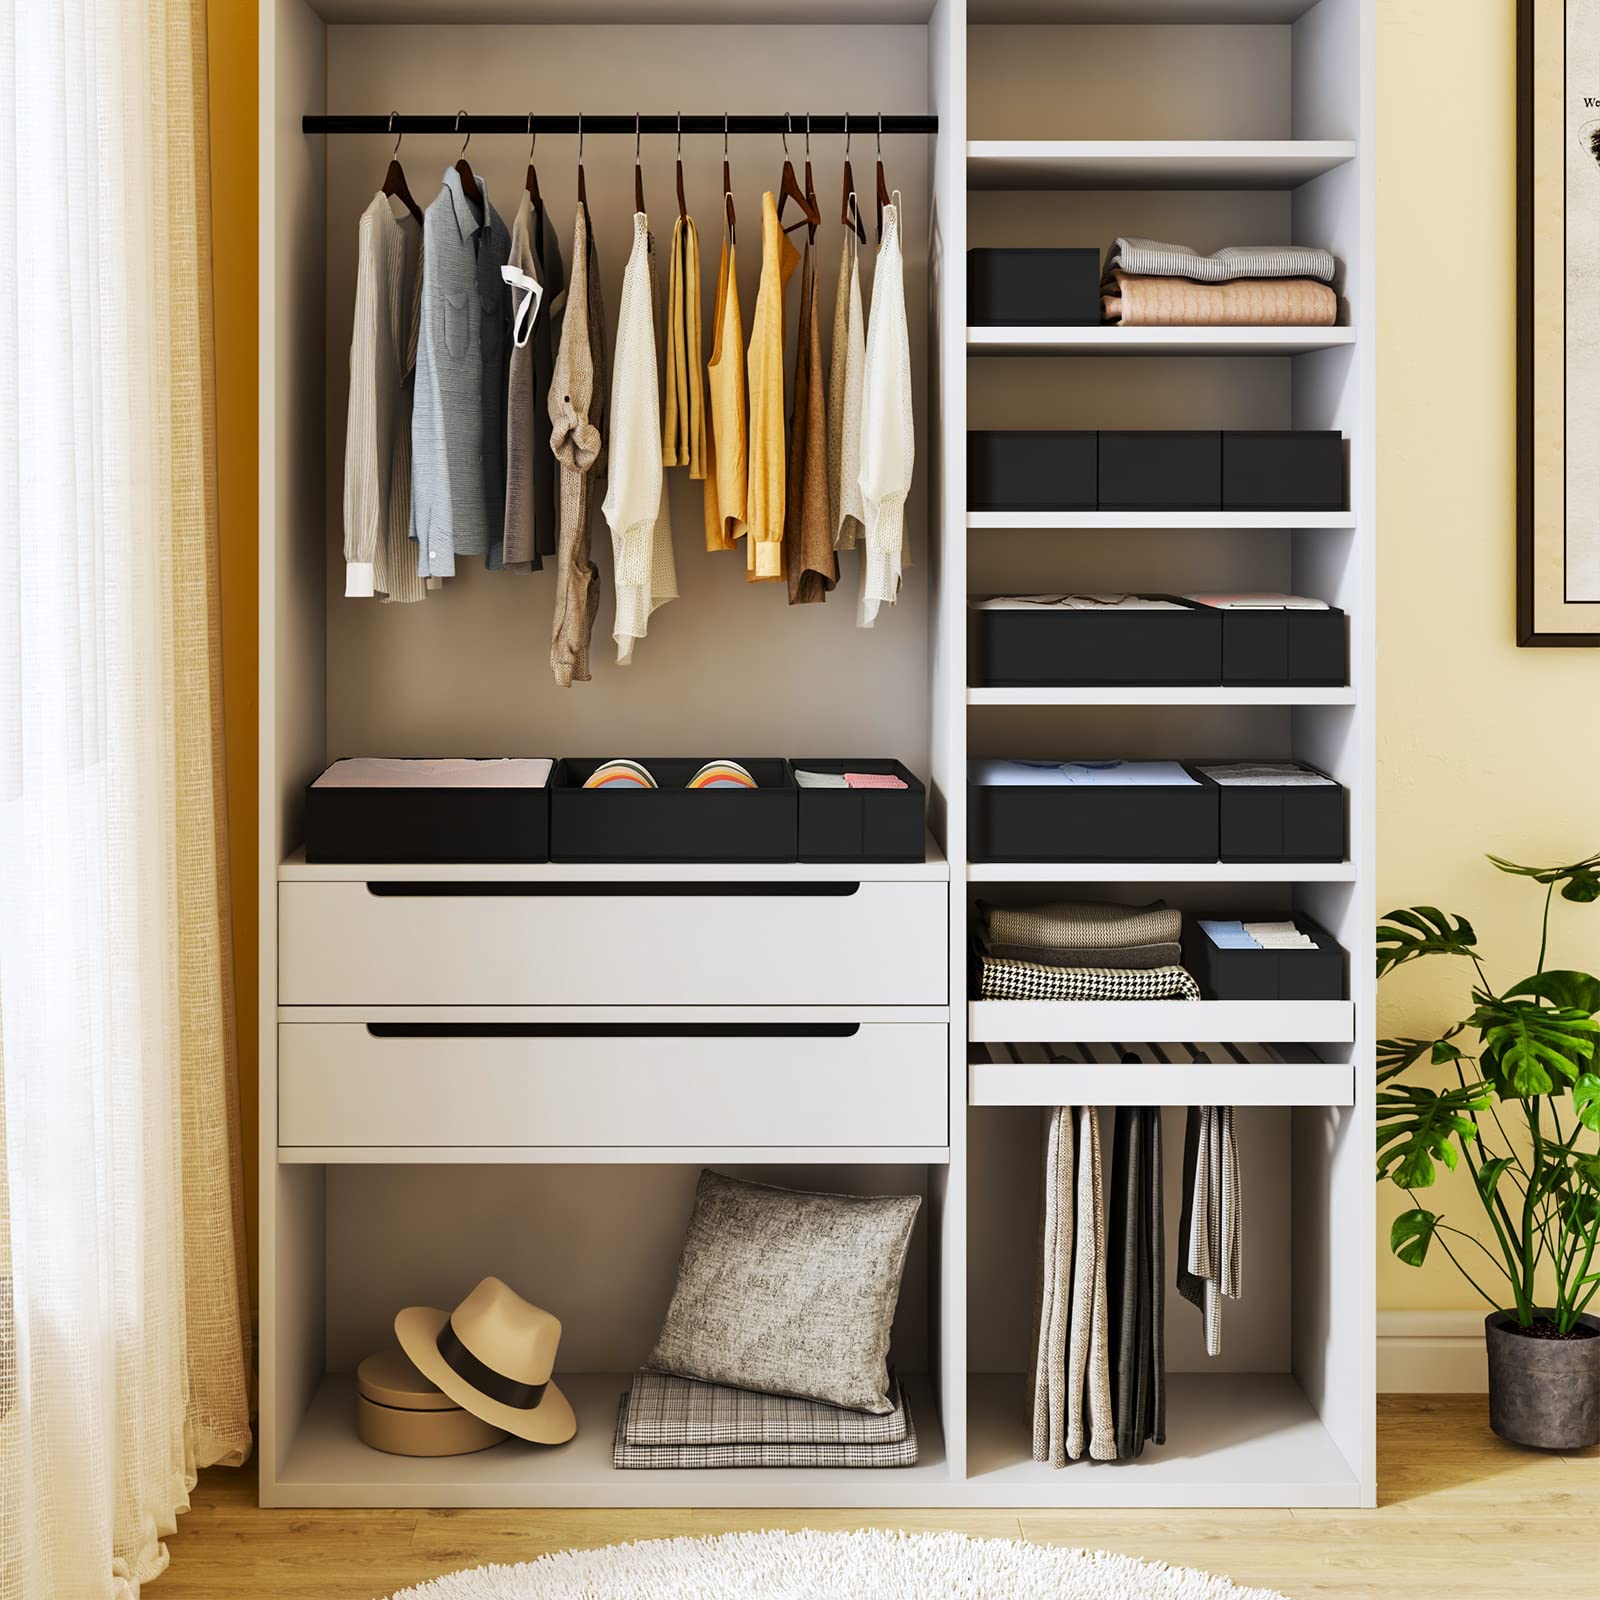
Creative Shelf Ideas for Better Storage
Here’s how to take it a step further:
- Shoe racks at the bottom
- Dividers for handbags
- Pull-out drawers or baskets
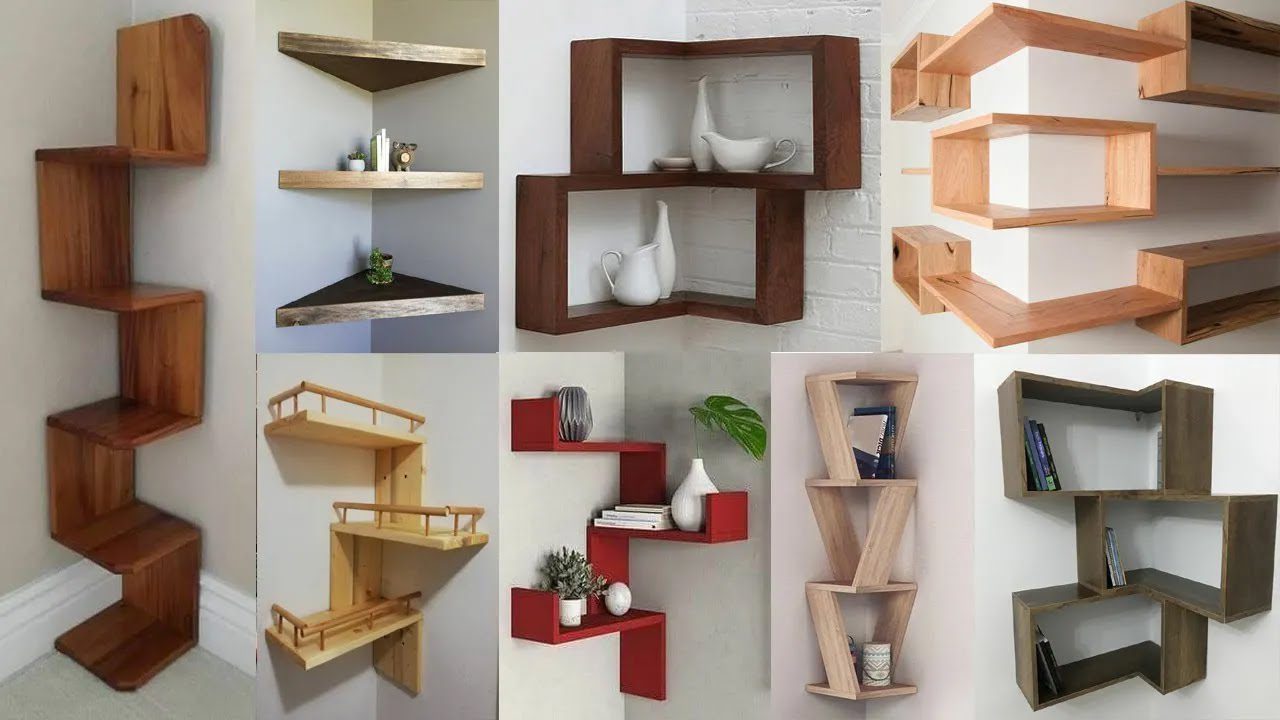
- Corner shelves to avoid wasted space
- A small shelf above the hanging rail
Your closet becomes a smart storage system instead of a dumping zone!
Common Mistakes to Avoid
When learning how to add shelves to a wardrobe, avoid these errors:
- Skipping measurements
- Ignoring weight limits
- Installing shelves too close together
- Using weak supports for heavy items
Careful planning prevents future repairs.
FAQs
1. Can I add shelves to a sliding-door wardrobe?
Yes! Just ensure the shelves don’t block the door movement.
2. What is the best material for wardrobe shelves?
MDF or plywood — they’re strong, smooth, and budget-friendly.
3. How much weight can a shelf hold?
It depends on bracket strength — standard shelves support 15–25 kg.
4. Do I need power tools for this?
A drill helps a lot, but you can install shelves with just a screwdriver.
5. Can I remove the shelves later?
Yes — especially if you install adjustable supports or pegs.
Conclusion
Knowing how to add shelves to a wardrobe gives you the power to transform your storage without spending a fortune. With simple tools and a bit of planning, your wardrobe can go from cluttered chaos to organized bliss.
So grab your tools and get started — your wardrobe deserves the upgrade!