
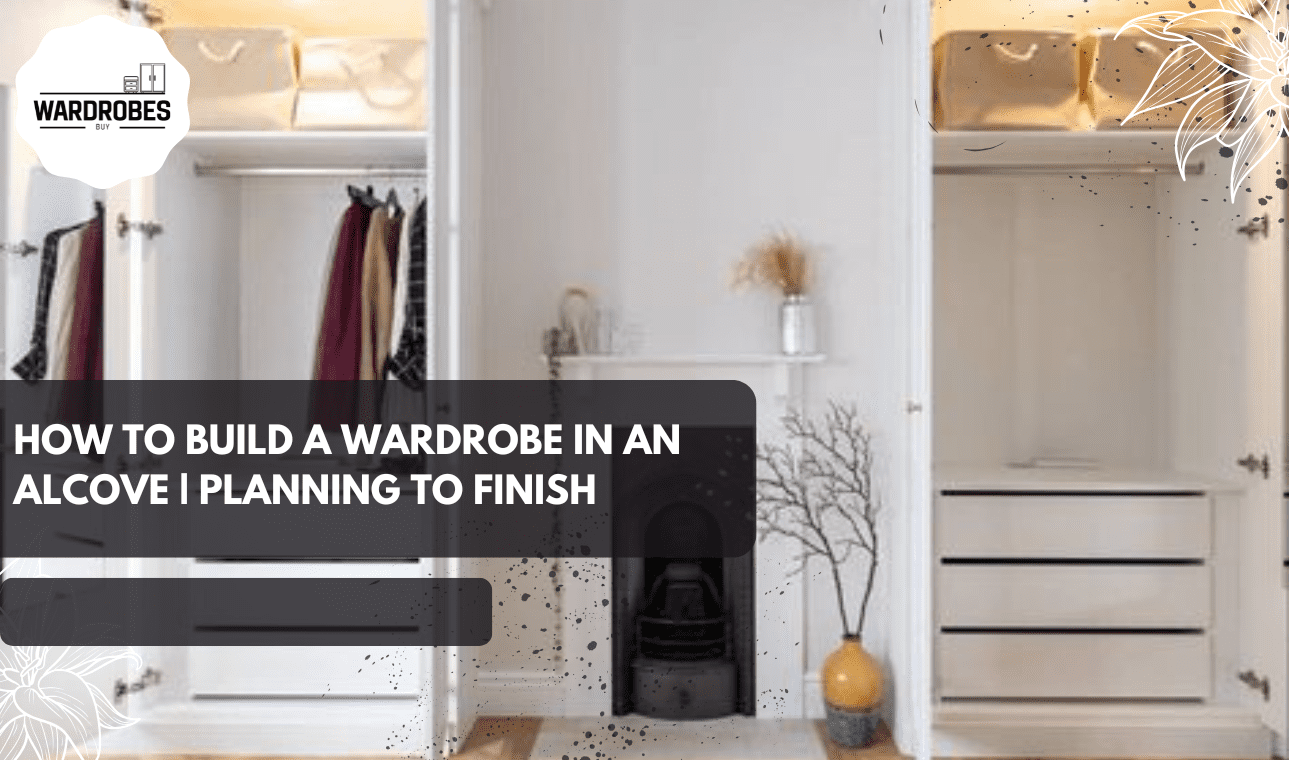
How to Build a Wardrobe in an Alcove | Planning to Finish
Ever looked at that awkward recessed space in your bedroom and thought, “What do I even do with this?” That’s exactly where alcove wardrobes shine. Learning how to build a wardrobe in an alcove can turn unused space into sleek, practical storage that feels custom-made—because it is.
Instead of bulky furniture eating up floor space, alcove wardrobes blend seamlessly into your room. They look tidy, feel intentional, and add real value to your home. Sounds good? Let’s break it down step by step.
Understanding Your Alcove Spaces Before You Build
An alcove is a recessed section of a wall, often found beside chimneys or in older homes. It’s like a ready-made frame just waiting for a wardrobe to slide into place.
Alcoves aren’t one-size-fits-all. Some are narrow and tall, others wide and shallow. Knowing your alcove’s quirks is the first step to how to build a wardrobe in an alcove that fits like a glove.
Tools and Materials You’ll Need
Before you start, gather these essentials:
- Materials: MDF or plywood panels, timber battens, screws, and wall plugs
- Tools: Tape measure, spirit level, drill, saw, screwdriver, pencil
- Accessories: Hinges or sliding door kit, shelf brackets, finishing nails
1. Measure Your Alcove
When it comes to alcove wardrobes, accuracy is everything. Measure the height, width, and depth at multiple points—walls aren’t always straight.
- Tape measure
- Spirit level
- Pencil and notebook
- Laser measure (optional but helpful)
Ask yourself: is this for everyday clothes, seasonal storage, or a mix of both? Your answer will shape everything—from shelf spacing to door style.
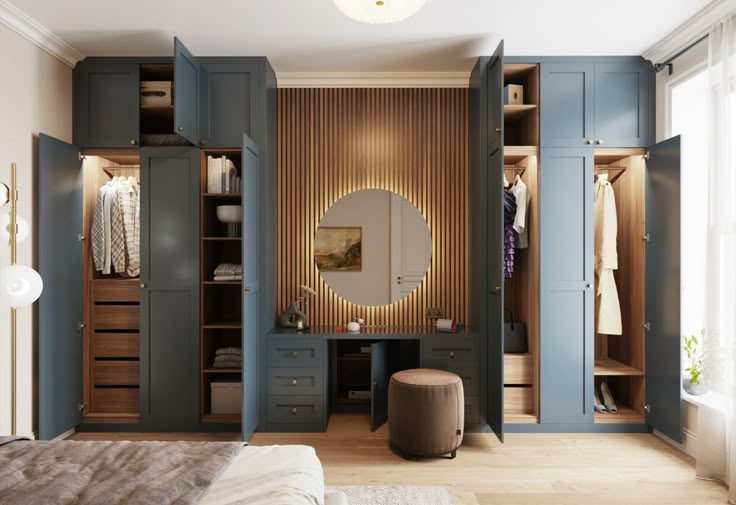
2. Choosing the Right Wardrobe Style
Built-in wardrobes offer a seamless, high-end look and maximize every inch. Freestanding options are quicker but often leave gaps that waste space.
Sliding doors are perfect for tight rooms. Hinged doors, on the other hand, give full access and feel more traditional. Select the design that fits your room layout and reflects your personal style.
3. Plan Your Wardrobe Layout
Decide on how you want to organize your storage:
- Long hanging section for dresses and coats
- Short hanging section for shirts and jackets
- Shelves for folded clothes or accessories
- Optional drawers for smaller items
Sketch a layout to guide your construction.
4. Build the Wardrobe Frame
Create a sturdy frame using timber battens. Secure them to the walls, floor, and ceiling. This frame acts like the skeleton of your wardrobe.
- Install timber battens along the walls and ceiling to act as the internal frame.
- Fix side panels, top, and bottom panels to the battens, ensuring everything is level.
- Secure shelves and hanging rails inside the frame according to your layout.
Use a spirit level to check that each panel is perfectly vertical and horizontal.
Install the Doors
Install doors last. Align them carefully so gaps are even. This is where your wardrobe really starts to look polished. Depending on your preference:
- Hinged doors: Traditional, easy to install
- Sliding doors: Perfect for compact bedrooms, offering a sleek look while saving floor space
Check alignment and clearance to ensure smooth opening and closing.
Step 5: Finishing Touches
These final details are like the cherry on top—they elevate the whole look.
- Fill any gaps or joints with wood filler
- Sand edges and surfaces for a smooth finish
- Paint, laminate, or veneer for your preferred look
- Add handles or knobs for easy access
Custom Storage Ideas for Alcove Wardrobes
Shelving and Hanging Solutions
Mix long-hang, short-hang, and adjustable shelves. Your wardrobe can adapt over time, giving you flexible storage as your needs evolve, and learn how to build a wardrobe in an alcove.
Drawers, Shoe Racks, and Accessories
Built-in drawers keep things tidy, while pull-out shoe racks make mornings smoother. Small additions, big impact.
Lighting and Ventilation Tips
Installing LED strip lights inside the wardrobe brightens your space and gives it a sleek, modern feel. Don’t forget ventilation—small vents prevent musty smells.
Common Mistakes to Avoid
- Incorrect measurements
- Ignoring wall unevenness
- Overloading shelves
- Skipping ventilation
Steer clear of these mistakes to make your project smoother, faster, and more cost-effective.
DIY vs Professional Installation
DIY is rewarding and cost-effective if you’re confident with tools. Professionals, however, offer speed, precision, and peace of mind. DIY alcove wardrobes can cost significantly less than bespoke installations.
Clean regularly, tighten fittings yearly, and avoid excess weight on shelves. A little care goes a long way. Use standard materials, reuse existing doors, and shop smart to stay within budget, while learning how to build a wardrobe in an alcove.
FAQs
1. How long does it take to build a wardrobe in an alcove?
For an average alcove, 2–3 days are enough for measuring, cutting, assembly, and finishing.
2. Is MDF or plywood better for alcove wardrobes?
Plywood is stronger, but MDF offers a smoother finish for painting.
3. Can I build an alcove wardrobe in a rented home?
Yes, but opt for minimal wall damage and check your tenancy agreement.
4. Are sliding doors better for small bedrooms?
Absolutely. They save space and offer a cleaner look.
5. Do I need professional help?
If you’re comfortable with DIY and measuring precisely, you can do it yourself. Otherwise, hiring a carpenter ensures a perfect finish.
Conclusion
Learning how to build a wardrobe in an alcove is one of the smartest ways to maximize space and upgrade your bedroom. With careful planning, the right materials, and a step-by-step approach, you can create a wardrobe that looks bespoke without the hefty price tag. It’s not just storage—it’s a transformation.
Start your DIY project today and enjoy a neatly organized bedroom with a custom-built wardrobe!