
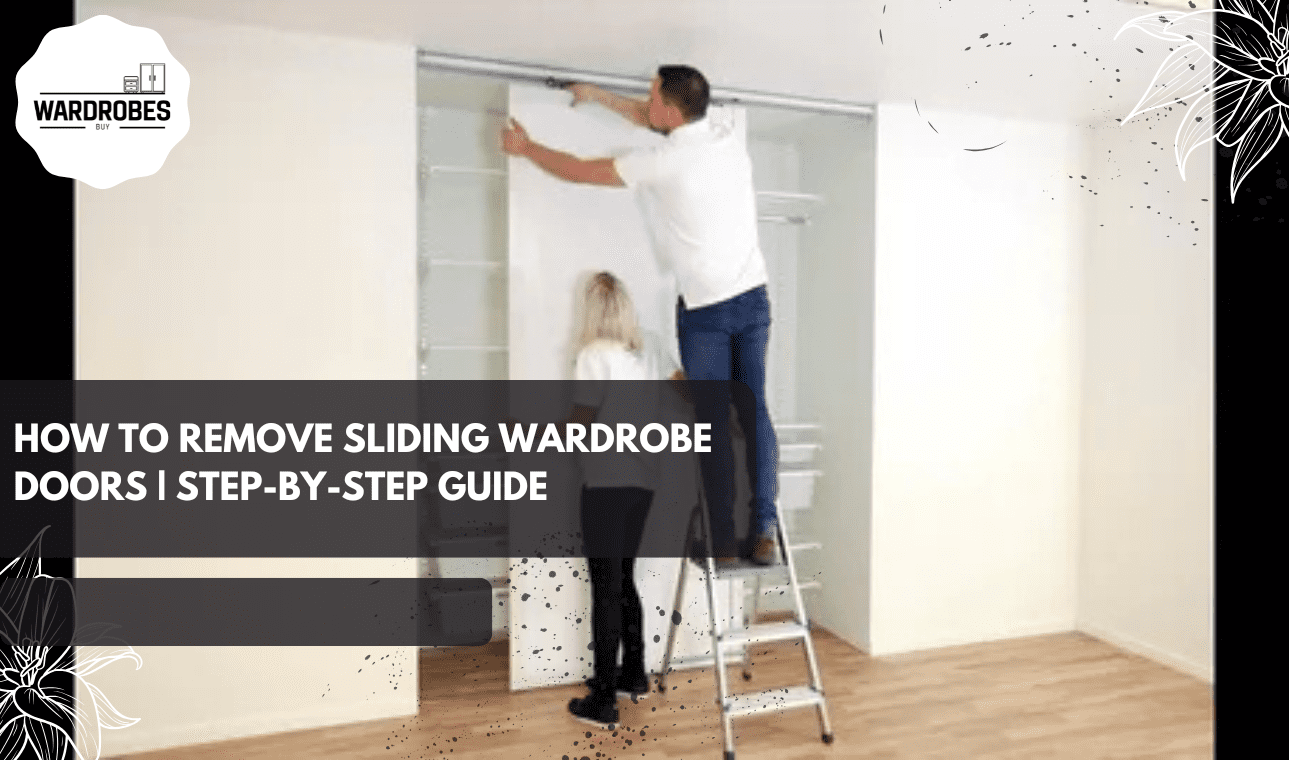
How to Remove Sliding Wardrobe Doors | Step-by-Step Guide
Want to upgrade your wardrobe or replace damaged rollers? Learning how to remove sliding wardrobe doors is easier than you think. With a few tools and the right technique, you can safely remove them without damaging the frame or glass.
This guide explains how to remove sliding wardrobe doors safely and perform home improvement without damaging tracks, panels, or surrounding surfaces. Let’s walk you through the process step-by-step like a pro!
Why You Might Need to Remove Sliding Wardrobe Doors
There are several common reasons to remove sliding wardrobe doors:
- Your rollers are worn out and need replacing
- You’re upgrading to a new design or mirrored doors
- Track cleaning and maintenance
- Fixing alignment issues
Whatever the reason, following the correct method helps prevent scratches, cracks, or alignment issues.
Safety Precautions Before You Start
Removing wardrobe doors can be risky, especially mirrored ones.
Tools You Will Need
- Phillips or flat-head screwdriver
- Gloves (especially for glass doors)
- Step ladder (if the wardrobe is tall)
- Masking tape (for extra safety on mirrors)
Wear protective gloves, keep children away, and avoid excessive force.
Types of Sliding Wardrobe Doors
Before you start, it helps to know which type of doors you have:
- Top-Hung Doors – These hang from a top rail and glide effortlessly.
- Bottom-Track Doors – They rely on the floor track with guiding rollers.
Knowing the mechanism makes removal much easier.
How Sliding Wardrobe Doors Work
Sliding doors ride along upper and lower tracks. Rollers help them glide smoothly. The trick is disengaging these rollers carefully.
Think of it like removing a train from its track—lift, angle, and slide it out.
Step-by-Step: How to Remove Sliding Wardrobe Doors
1. Clear the Area
First, move furniture and items near the wardrobe for space. Then, place a soft cloth or cardboard on the floor to protect the doors once they are removed.
2. Identify the Rollers and Track System
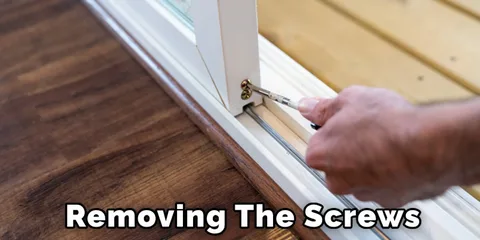
Using a screwdriver, slightly loosen the roller screws at the top of the door. This lowers the door and releases tension from the track.
Next, check whether your sliding wardrobe doors are top-hung or bottom-rolling. Most modern wardrobes use top tracks with adjustable rollers.
3. Remove the Front Sliding Door
- Slide it fully to the side
- Lift it gently upward into the top track
- Pull the bottom out toward you
It should come free with minimal effort.
4. Remove the Back Sliding Door
Slide the rear door towards the center, lift it gently into the top track, then pull the bottom outward to release it safely without forcing or twisting the door.
Same technique—just lift, tilt, and pop out of the track.
5. Lift and Detach Completely
Carefully lift the door upward to disengage it from the top track, then tilt and remove it fully. Place it upright on a protected surface to avoid damage.
Set each door aside safely in an upright position.
6. Remove the Door Safely
Once free, gently lower the door and place it flat on the protected surface. Ensure a firm grip on both sides of the door, keep it upright, and move slowly while removing. Place it gently against a wall or padded surface to prevent accidents or cracks.
How to Remove Sliding Wardrobe Doors Safely
Mirrors are heavier and risk shattering.
- Tape the mirror with masking tape in a criss-cross pattern
- Hold firmly from both sides
- Remove slowly and avoid sudden tilts
Safety first!
Tips for Handling Heavy Sliding Doors
- Always keep doors vertical (never lay flat)
- Use two people if the door is heavy
- Place soft padding on the floor to protect the edges
Your toes will thank you later!
Troubleshooting Difficult Doors
Try adjusting the roller screws at the bottom to lower the door slightly. Dust and debris can jam movement. Clean with a brush.
If still stuck, a professional may be needed.
What to Do After Removing Sliding Doors
Now’s the perfect time to:
- Clean the tracks thoroughly
- Check for bent rails or cracked rollers
- Vacuum dust and debris
Your doors will glide like new when reattached.
How to Maintain Tracks and Rollers
- Lubricate rollers occasionally
- Avoid excessive weight on hanging areas
- Keep the bottom track clear at all times
Small care = long-lasting smooth movement
Common Mistakes to Avoid
Many people make small mistakes during removal. Avoid these:
- Forcing the door aggressively
- Removing doors without protective gloves
- Skipping cleaning and maintenance
- Not supporting the door weight properly
Being careful at each step saves time and repair costs. Take it slow and smart!
When to Call a Professional
If:
- Doors contain large glass panels
- Tracks are severely damaged
- You feel unsafe handling the weight
Experts ensure proper removal and reinstallation without risk!
FAQs
1. Can I remove sliding wardrobe doors by myself?
Yes, lightweight doors can be removed alone. However, having a second person is safer for larger or mirrored doors.
2. Do sliding wardrobe doors come off easily?
Most sliding wardrobe doors come off easily once the rollers are adjusted correctly and the door is lifted properly.
3. Will removing the doors damage the tracks?
No, removing sliding wardrobe doors correctly will not damage the tracks or rollers.
4. Do I need special tools to remove sliding wardrobe doors?
No special tools are required. A basic screwdriver and protective floor covering are usually enough.
5. How long does the removal process take?
Anywhere from 10–30 minutes, depending on door size and condition.
Conclusion
Now you know how to remove sliding wardrobe doors safely and properly. Whether for repair, upgrade, or cleaning, this guide makes the task simple and stress-free. Handle with care, follow the steps, and organise your wardrobe will be ready for whatever comes next!