
How to Build a Wardrobe Frame | Step-by-Step Guide
When it comes to improving bedroom storage, learning how to build a wardrobe frame can completely transform your space. Instead of buying expensive furniture, a DIY wardrobe frame allows you to customize every detail — from size and shape to interior storage and finish.
Whether you’re a beginner or a DIY enthusiast, this detailed guide clearly and simply walks you through everything.
Tools and Materials You Will Need
Before starting, make sure you have the following:
- Measuring tape
- Saw (hand saw or circular saw)
- Drill and screws
- Wood panels or plywood
- Wood glue
- Sandpaper
- Square and level
Planning Your Wardrobe Frame
Good planning saves time, effort, and money.
1. Measuring Your Space
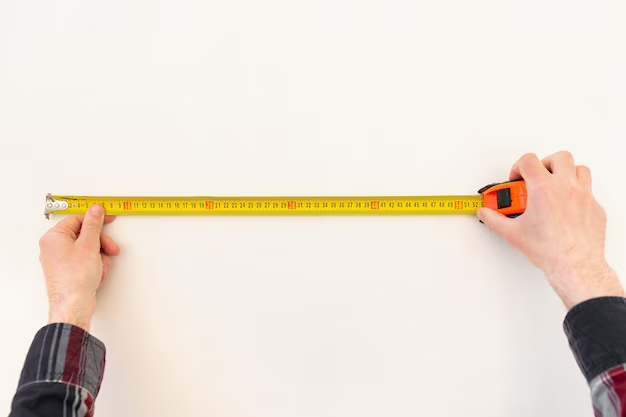
Planning is crucial for a wardrobe that fits perfectly. Measure:
- Measure the height, width, and depth of your space.
- Sketch a rough diagram of your wardrobe frame, noting shelves and hanging sections.
- Decide on the thickness of the wood panels; typically, 18mm plywood works well.
2. Choosing the Frame Style
- Sliding doors = ideal for smaller rooms
- Hinged doors = classic look with full access
Pick what suits your home layout and taste.
3. Cutting the Wood Panels
Always:
- Wear gloves
- Use goggles
- Keep tools sharp
- Work on a clean, flat surface
Mark measurements clearly and cut slowly to avoid rough edges. Power saws help with perfect straight lines. Double-check measurements before cutting to avoid mistakes.
4. Constructing the Base Frame
Start with the foundation — the bottom panel. Apply wood glue, then screw in support bars and brackets for maximum strength. Securing the base to the floor (or risers) properly is essential to prevent wobbling and is a key step when learning how to build a wardrobe frame. Pre-drill screw holes to avoid splitting the wood.
A strong base = long-lasting wardrobe.
5. Installing the Side Panels
Hold each side panel upright, then screw it into the base. Use a level to ensure both sides stand perfectly straight — no leaning! This step forms the main vertical structure.
6. Fitting the Top Frame
Lay the top panel over both sides and secure with screws. Reinforce with:
- L-brackets
- Corner metal plates
This prevents the frame from shifting or loosening over time.
7. Adding Rails and Beams
For taller wardrobes, securely add crossbars at the back to enhance rigidity and prevent bending, ensuring the structure remains stable and strong — a crucial step when learning how to build a wardrobe frame.
8. Installing Back Panels
Thin plywood sheets work great as a back panel. Nail them firmly to:
- Strengthen the structure
- Close gaps
- Prevent dust from entering
9. Add Shelves and Dividers
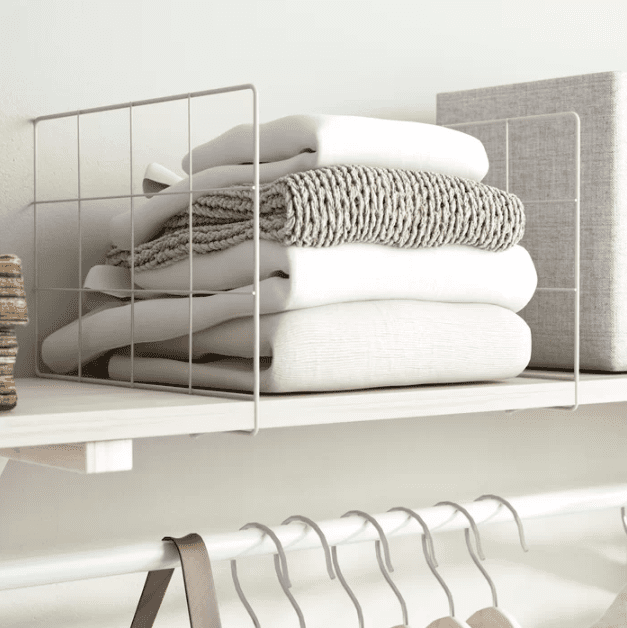
- Measure and mark shelf positions.
- Secure shelves with screws and wood glue for extra stability.
- Use a level to ensure shelves are straight.
10. Adding Internal Storage Sections
Now the fun part — customizing your storage when learning how to build a wardrobe frame! Install shelf support pins or metal brackets, and vary shelf sizes for shoes, bags, and folded clothes.
Hanging Rail
Position at least:
- 150 cm for long clothes
- 100 cm for shirts and jackets
Use sturdy rail supports for weight stability.
Drawers
- Add drawers for socks, accessories, and valuables.
- Make the inside as smart as the outside looks.
11. Final Check and Reinforcement
Check:
- Screws tightened properly
- Frame aligned straight
- Weight stability
Make any needed reinforcements now before moving forward.
12. Painting or Finishing Touches
You can:
- Paint
- Laminate
- Varnish
- Add edge banding
Choose a style that complements your bedroom décor.
Common Mistakes to Avoid
- Measuring incorrectly (double-check always!)
- Skipping reinforcement brackets
- Using low-quality materials
- Not leveling the frame
- Rushing finishing work
Avoid these to ensure a beautiful, durable wardrobe.
Why Building Your Own Wardrobe Frame is Worth It
- Saves money
- Fully customizable
- Better use of space
- Stronger than cheap readymade furniture
- Adds a personal touch to your home
A DIY wardrobe = style + storage + satisfaction!
FAQs
1. Can beginners build a wardrobe frame?
Yes! This guide is beginner-friendly, and most steps are easy with basic tools.
2. Which wood is best for wardrobe frames?
Engineered wood, MDF, or plywood are affordable and strong options.
3. How long does it take to build a wardrobe frame?
Typically 1–2 days, depending on size and experience.
4. Should I fix the wardrobe to the wall?
Yes, especially if tall — for safety and stability.
5. Can I add lighting inside?
Absolutely! LED strip lights are a modern and easy add-on.
Conclusion
Now you know exactly how to build a wardrobe frame from scratch, step by step. With the right materials and a little creativity, you can create a wardrobe that doesn’t just store clothes — it elevates your entire room.
Ready to put the tools to work? Start building today and enjoy a wardrobe tailored perfectly to your lifestyle!