
How to Paint a Wardrobe at Home for a Smooth Finish
Ever looked at your old wardrobe and thought it deserved a glow-up? You’re not alone. Learning how to paint a wardrobe is one of the easiest and most budget-friendly ways to refresh your bedroom without replacing furniture.
This guide walks you through everything—from preparation to the final coat—so you can achieve a smooth, professional-looking finish right at home.
Why Painting a Wardrobe Is Worth It
Painting a wardrobe is like giving your furniture a second life. It saves money, reduces waste, and lets you customize colors to match your style. Plus, the sense of satisfaction? Priceless.
You’ll learn the complete step-by-step process, the best tools to use, common mistakes to avoid, and expert tips to ensure a flawless result—even if you’re a beginner.
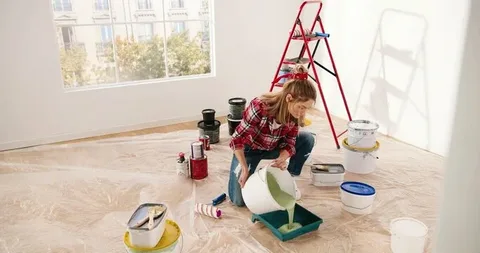
Tools and Materials You’ll Need
Essential Painting Tools
- Sandpaper (120 & 220 grit)
- Paint brushes (angled and flat)
- Foam rollers
- Drop cloths
- Screwdriver
Paint Types Explained
Choose water-based or acrylic paint for indoor wardrobes. They dry faster, smell less, and are easier to clean.
Safety Gear Checklist
- Gloves
- Face mask
- Safety goggles
Safety first—always.
How to Paint a Wardrobe – Step-by-Step Process
1. Prepare the Wardrobe
Begin by completely emptying the wardrobe and removing all internal fittings such as shelves, drawers, and rails. Move the how to paint a wardrobe to a well-ventilated area if possible. Cover the floor and nearby furniture with dust sheets to protect them from paint splashes.
2. Remove Hardware
Carefully remove all handles, knobs, hinges, locks, and mirrors using the right tools. Label or store screws and fittings in small containers so nothing gets lost. This step ensures clean paint lines and a professional finish.
3. Clean the Surface
Thoroughly clean the wardrobe using warm water and a mild detergent or sugar soap. This removes dirt, grease, and residue that can stop paint from bonding properly. Allow the surface to dry fully before painting or varnishing.
4. Sand
Sand the entire surface lightly using medium-grit sandpaper, then finish with fine-grit for smoothness. This step removes old shine, rough patches, and imperfections, helping the new paint adhere better and look even.
5. Apply Primer
Apply a high-quality primer suitable for your wardrobe material. Primer helps cover stains, blocks old colors, and creates a strong base for paint. Let the primer dry fully as recommended by the manufacturer.
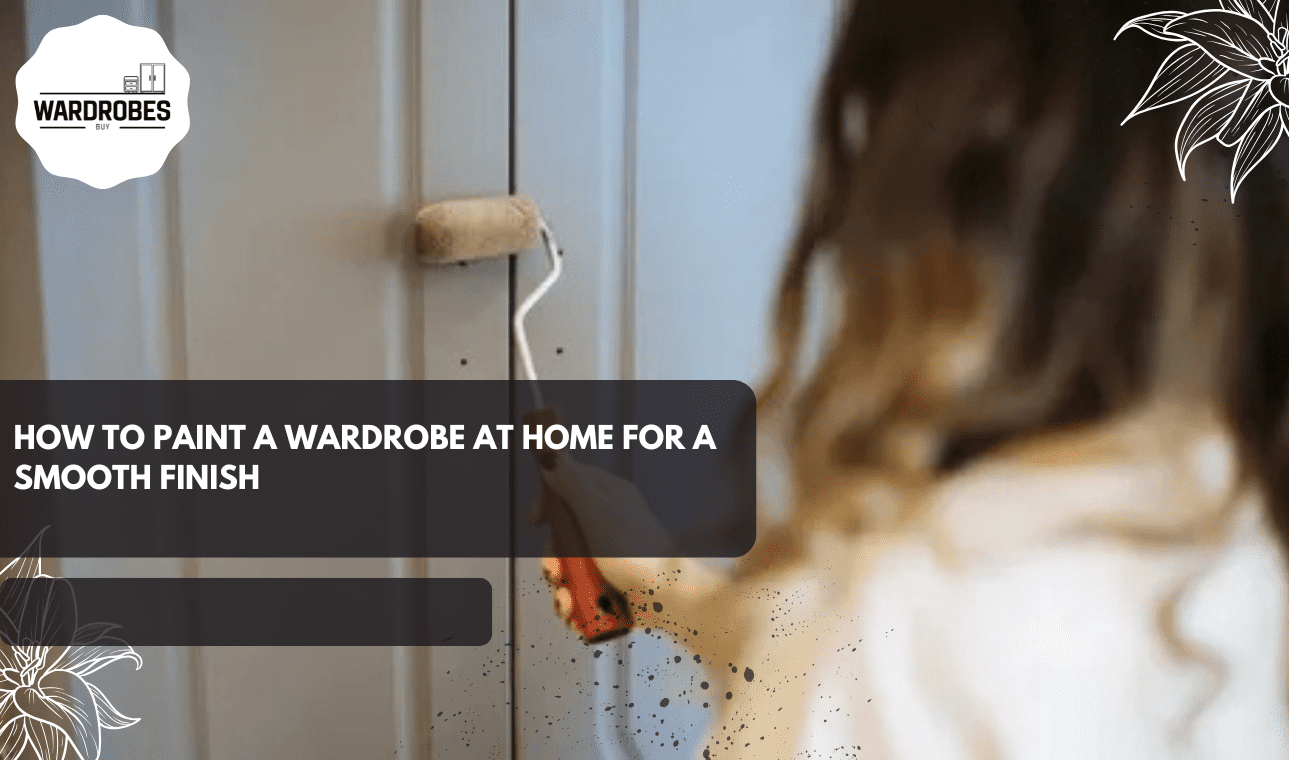
6. Paint
Paint the first layer using long, smooth strokes for a flawless finish. Work in sections and always paint in the same direction. Thin coats are better than thick ones, as they reduce drips, brush marks, and uneven texture.
7. Sand Between Coats
After drying, smooth the first coat by gently sanding with fine-grit paper. This removes bubbles, dust nibs, and streaks. Wipe away dust before applying the next coat for a flawless finish.
8. Apply Varnish
After the final paint coat has dried, apply a clear varnish or protective sealant. This adds durability, protects against scratches, and makes the surface easier to clean, especially for daily use furniture.
9. Reattach Mirrors & Hardware
When everything is completely dry and cured, carefully reattach mirrors, handles, and hardware. Tighten screws gently to avoid chipping the paint. This step brings the wardrobe back to life.
10. Maintain Your Wardrobe
Clean the painted surface regularly using a soft cloth and mild cleaner. Avoid harsh chemicals and excessive moisture. Promptly touch up small chips or marks to keep your wardrobe essential items looking fresh and new for years.
Best Painting Techniques for a Smooth Finish
Brush vs Roller vs Spray Painting
- Brushes: Great for details
- Rollers: Best for flat surfaces
- Spray painting: Smoothest finish, but needs practice
Always paint in one direction and don’t overload your brush or roller.
Common Mistakes to Avoid
- Primer is essential; skipping it is like starting without a foundation. Don’t do it.
- Patience pays off. Rushing leads to peeling and uneven texture.
- Applying thick paint coats that result in drips and streaks
- Rushing between coats without allowing proper drying time
- Painting in poorly ventilated areas, slow drying, and trapping fumes
Is DIY Wardrobe Painting Right for You?
DIY wardrobe painting is ideal for those who enjoy hands-on projects, want to save money, and love customizing their furniture. It allows you to refresh old wardrobes and choose colors that match your style, while how to paint a wardrobe. Keep in mind it requires patience, proper preparation, and multiple coats to achieve a smooth, professional finish.
FAQs
1. How long does it take to paint a wardrobe?
It usually takes 1–2 days, including drying time between coats, depending on the number of layers and prep work.
2. Can I paint a wardrobe without sanding?
Light sanding is strongly recommended as it smooths the surface and helps the paint adhere better, ensuring a longer-lasting finish.
3. What paint finish is best for wardrobes?
Satin or semi-gloss finishes are ideal, offering a smooth, slightly shiny look that’s easy to clean and resistant to scratches.
4. Can I paint a laminated wardrobe?
Yes, but it requires proper sanding and a high-adhesion primer to prevent peeling and ensure the paint sticks to the smooth surface.
5. How long does painted furniture last?
With proper preparation, quality paint, and regular care, painted furniture can stay beautiful and durable for several years.
Conclusion
Painting a wardrobe at home isn’t just a DIY task—it’s a transformation. With the right tools, patience, and this guide on how to paint a wardrobe, you can achieve a smooth, stylish finish that looks professionally done. Take it step by step and enjoy creating a flawless finish.